What Is Thin Client Installation?
Thin client installation is the process of setting up a small client computer so it connects to a central server, virtual desktop host or cloud desktop. The thin client runs little local software. Applications and data stay on the server, and the thin client shows the desktop and sends keyboard and mouse input back to the server. Installation usually covers the operating system or firmware, network connection, display and peripheral connections, and the remote session settings.
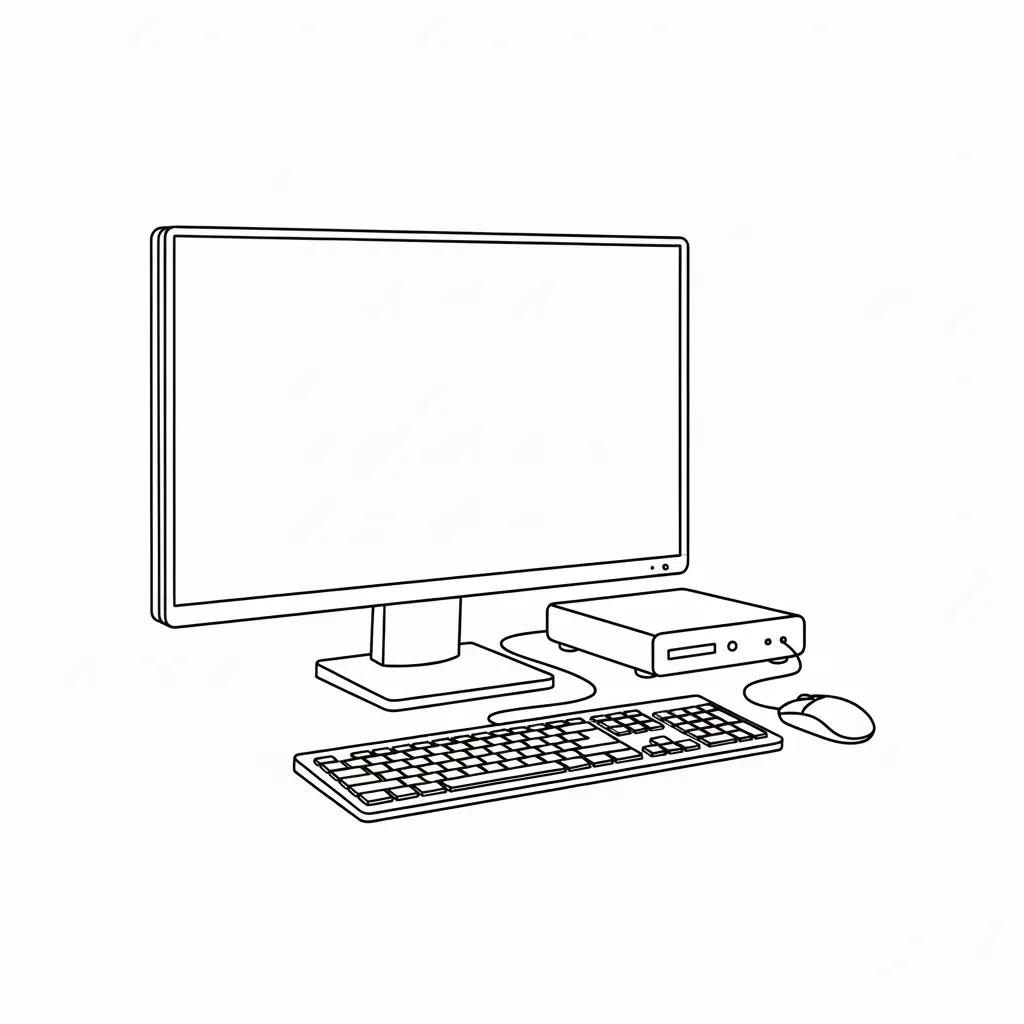
A typical installation has four steps. First, connect the power adapter, monitor, keyboard and mouse, and a wired network cable. Second, power on the device and select the operating system or boot mode. Third, configure the network address and the server or remote desktop connection. Fourth, test the session and confirm that the display, input devices and audio work as expected. Because a thin client has no hard drive for user data, a failed unit can be replaced quickly by loading the same configuration on a new device.
Key Specifications for Installation Planning
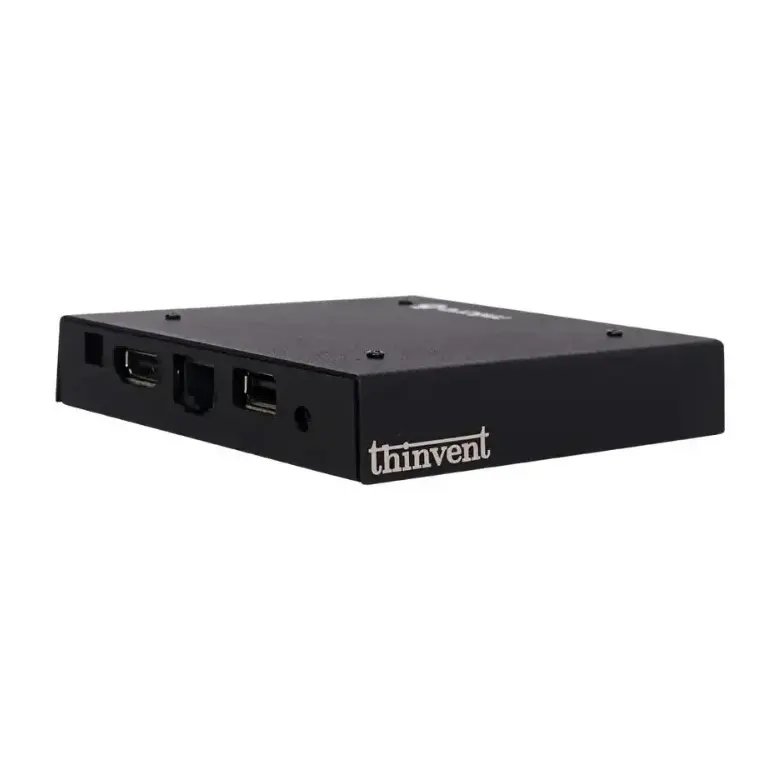
The Thinvent Neo S Thin Client uses the Intel Celeron J1900 processor. The processor has 4 cores, a maximum frequency of 2.4 GHz and 2 MB of cache. The unit includes 4 GB of DDR3 RAM and a 128 GB SSD. It ships with a 19V 1.3A power adapter and does not include Wi-Fi, so installation requires a wired Ethernet connection.
| Specification | Thinvent Neo S |
|---|---|
| Processor | Intel Celeron J1900 |
| Cores | 4 |
| Max frequency | 2.4 GHz |
| Cache | 2 MB |
| Memory | 4 GB DDR3 |
| Storage | 128 GB SSD |
| Power adapter | 19V 1.3A |
| Wi-Fi | Not included |
Operating System Options
Thinvent Neo S units are offered with several operating system options, so the installer can match the unit to the server environment:
-
Windows 11 IoT for embedded and kiosk deployments
-
Windows 11 Professional or Windows 11 Pro for business desktops and remote sessions
-
DOS for legacy application environments
-
Thinux Embedded Linux for Linux-based remote desktop and browser deployments
Select the operating system that your remote desktop, virtual desktop or cloud platform supports before installation.
Installation Best Practices
-
Use a wired network connection, because the Neo S has no Wi-Fi.
-
Use the supplied 19V 1.3A adapter to power the unit.
-
Confirm the processor and memory meet the needs of your remote session software.
-
Record the network settings and server address for each unit so replacement is quick.
-
Pair the unit with the Thinvent keyboard and mouse set if you need a complete kit.
Thinvent Products for Thin Client Installation
Thinvent has the Neo S Thin Client in configurations with Windows 11 IoT, Windows 11 Professional, DOS and Thinux Embedded Linux, with or without a Thinvent keyboard and mouse set. All models use the Intel Celeron J1900 processor, 4 GB DDR3 RAM and a 128 GB SSD, so installation steps are the same across the range. Choose the operating system and kit that match your deployment.